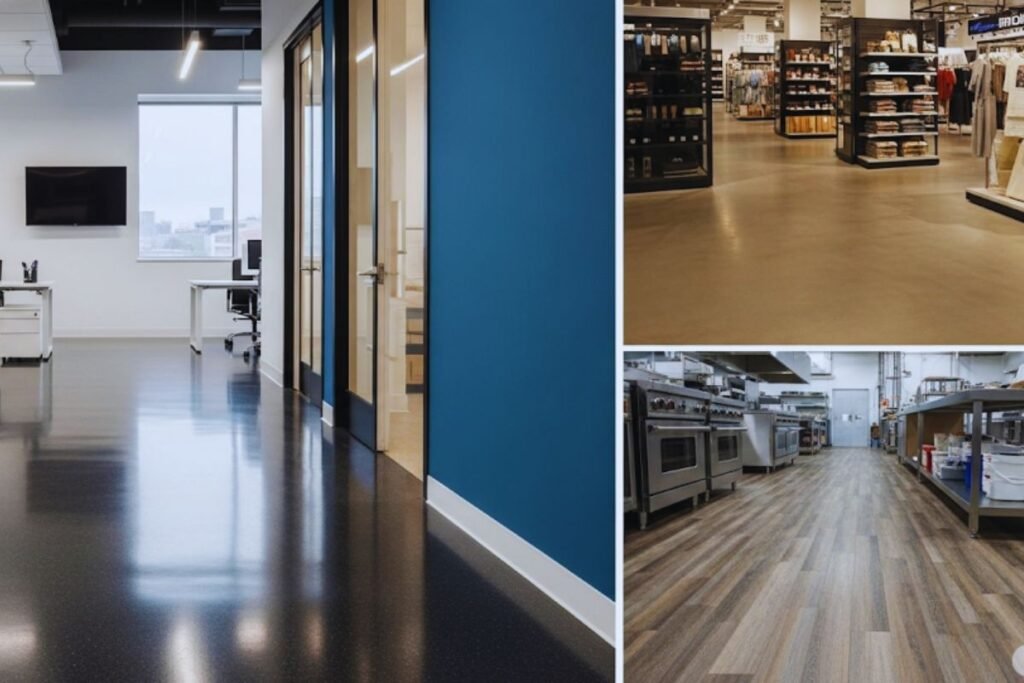
Installing new flooring in a commercial space is a major investment — not just financially, but also in terms of time, business operations, and overall planning. Whether you’re upgrading to epoxy, vinyl, carpet tiles, or natural stone flooring, proper preparation can significantly reduce downtime, prevent costly mistakes, and ensure a flawless result.
In this blog, we’ll walk you through essential steps to prepare your commercial space for flooring installation, ensuring a smooth and stress-free experience.

1. Assess Your Current Flooring and Requirements
Before starting, conduct a thorough inspection of your current flooring. Identify any damage, cracks, uneven surfaces, or moisture problems. If you’re unsure about the subfloor condition or what materials are best suited for your business, consult a professional flooring contractor.
Key tips:
- Take photos of the current condition for reference.
- Note high-traffic areas and special needs like moisture resistance or anti-slip surfaces.
- Discuss your business’s daily operations to determine which flooring best suits your environment.
2. Set a Clear Budget and Timeline
Commercial flooring can vary significantly in cost, depending on the material, space size, and preparation work required. Create a clear budget that includes:
- Flooring material and delivery
- Labor charges
- Subfloor repairs (if needed)
- Waste removal and cleaning
- Downtime costs or temporary relocation
Also, work with your contractor to finalize an installation schedule that minimizes disruption. Many companies opt for evening or weekend work to keep their business running during the day.
3. Notify Staff and Customers in Advance
Communication is key. If your business will remain open during installation, notify your staff and customers ahead of time. Clear signage, temporary workarounds, or restricted access areas can help avoid confusion or accidents.
Suggestions:
- Send internal emails about work schedules and safety measures.
- Put up signs about areas under construction.
- Update your website or social media if there are temporary closures.
4. Clear the Area
Before installation day, the flooring area needs to be cleared of all furniture, machinery, or obstructions. Depending on your business, this may require:
- Moving desks, shelves, and equipment
- Unplugging electrical devices
- Removing baseboards, mats, or old flooring
Some professional flooring companies offer furniture-moving services, but confirm this beforehand.
5. Handle Electrical and Plumbing Concerns
If your flooring project includes kitchens, washrooms, or areas with complex electrical systems, it’s important to disconnect or protect these connections before work begins. Schedule qualified electricians or plumbers in advance if needed.
Also, discuss with your flooring team whether water shut-off or power isolation is necessary during the process.
6. Ensure Proper Ventilation and Climate Control
Certain flooring materials, like epoxy or adhesives, require controlled temperatures and ventilation. Make sure your HVAC system is functioning and that the space can remain within the recommended temperature range during installation and curing.
This is especially important in areas like Dubai or Singapore, where humidity can affect flooring adhesives or cure times.
7. Prepare the Subfloor
Subfloor preparation is one of the most critical steps in any flooring installation. A poorly prepped subfloor can lead to premature wear, uneven surfaces, or material failure.
Common preparation tasks include:
- Cleaning dust, oil, or debris
- Leveling or patching cracks and holes
- Applying moisture barriers
- Sanding or grinding uneven surfaces
Ask your flooring contractor whether they will handle this or if it’s your responsibility before the installation team arrives.
8. Confirm Delivery and Material Storage
Flooring materials should arrive a few days early to acclimate to the room’s temperature and humidity. Plan a secure, dry, and clean area to store the materials prior to installation.
For example:
- Vinyl planks need to adjust to room conditions to prevent warping.
- Epoxy kits may require room-temperature storage to maintain consistency.
Proper storage also prevents delays and avoids damage to expensive materials.
9. Review Safety Protocols
During installation, safety is a top priority—especially in a working commercial environment. You may need temporary barriers, warning signs, or restricted access zones.
Discuss with your contractor:
- Whether protective gear is required for staff
- How to avoid tripping hazards or chemical exposure
- Emergency exits and alternate access routes during work
10. Plan for Post-Installation Cleanup and Downtime
After installation, some flooring types require drying or curing time before use. For instance, epoxy flooring might take 24–72 hours to cure, depending on conditions.
Ensure:
- The area remains closed during this time.
- A post-installation cleaning plan is in place.
- Furniture and equipment are moved back only after approval from the flooring team.
This helps prevent damage and ensures a longer lifespan for your new floor.
Conclusion
Preparation is the foundation of a successful commercial flooring installation. Investing time in planning, coordinating with professionals, and informing your staff will ensure high-quality results and protect your business from disruptions and unexpected costs.
If you’re planning a flooring upgrade in your office, shop, warehouse, or commercial facility, it’s worth working with an experienced flooring company that understands both aesthetics and functionality.
Need expert help with your flooring installation
Commercial flooring offers a free consultation and get professional guidance on every step — from preparation to finishing.
